Getting Started

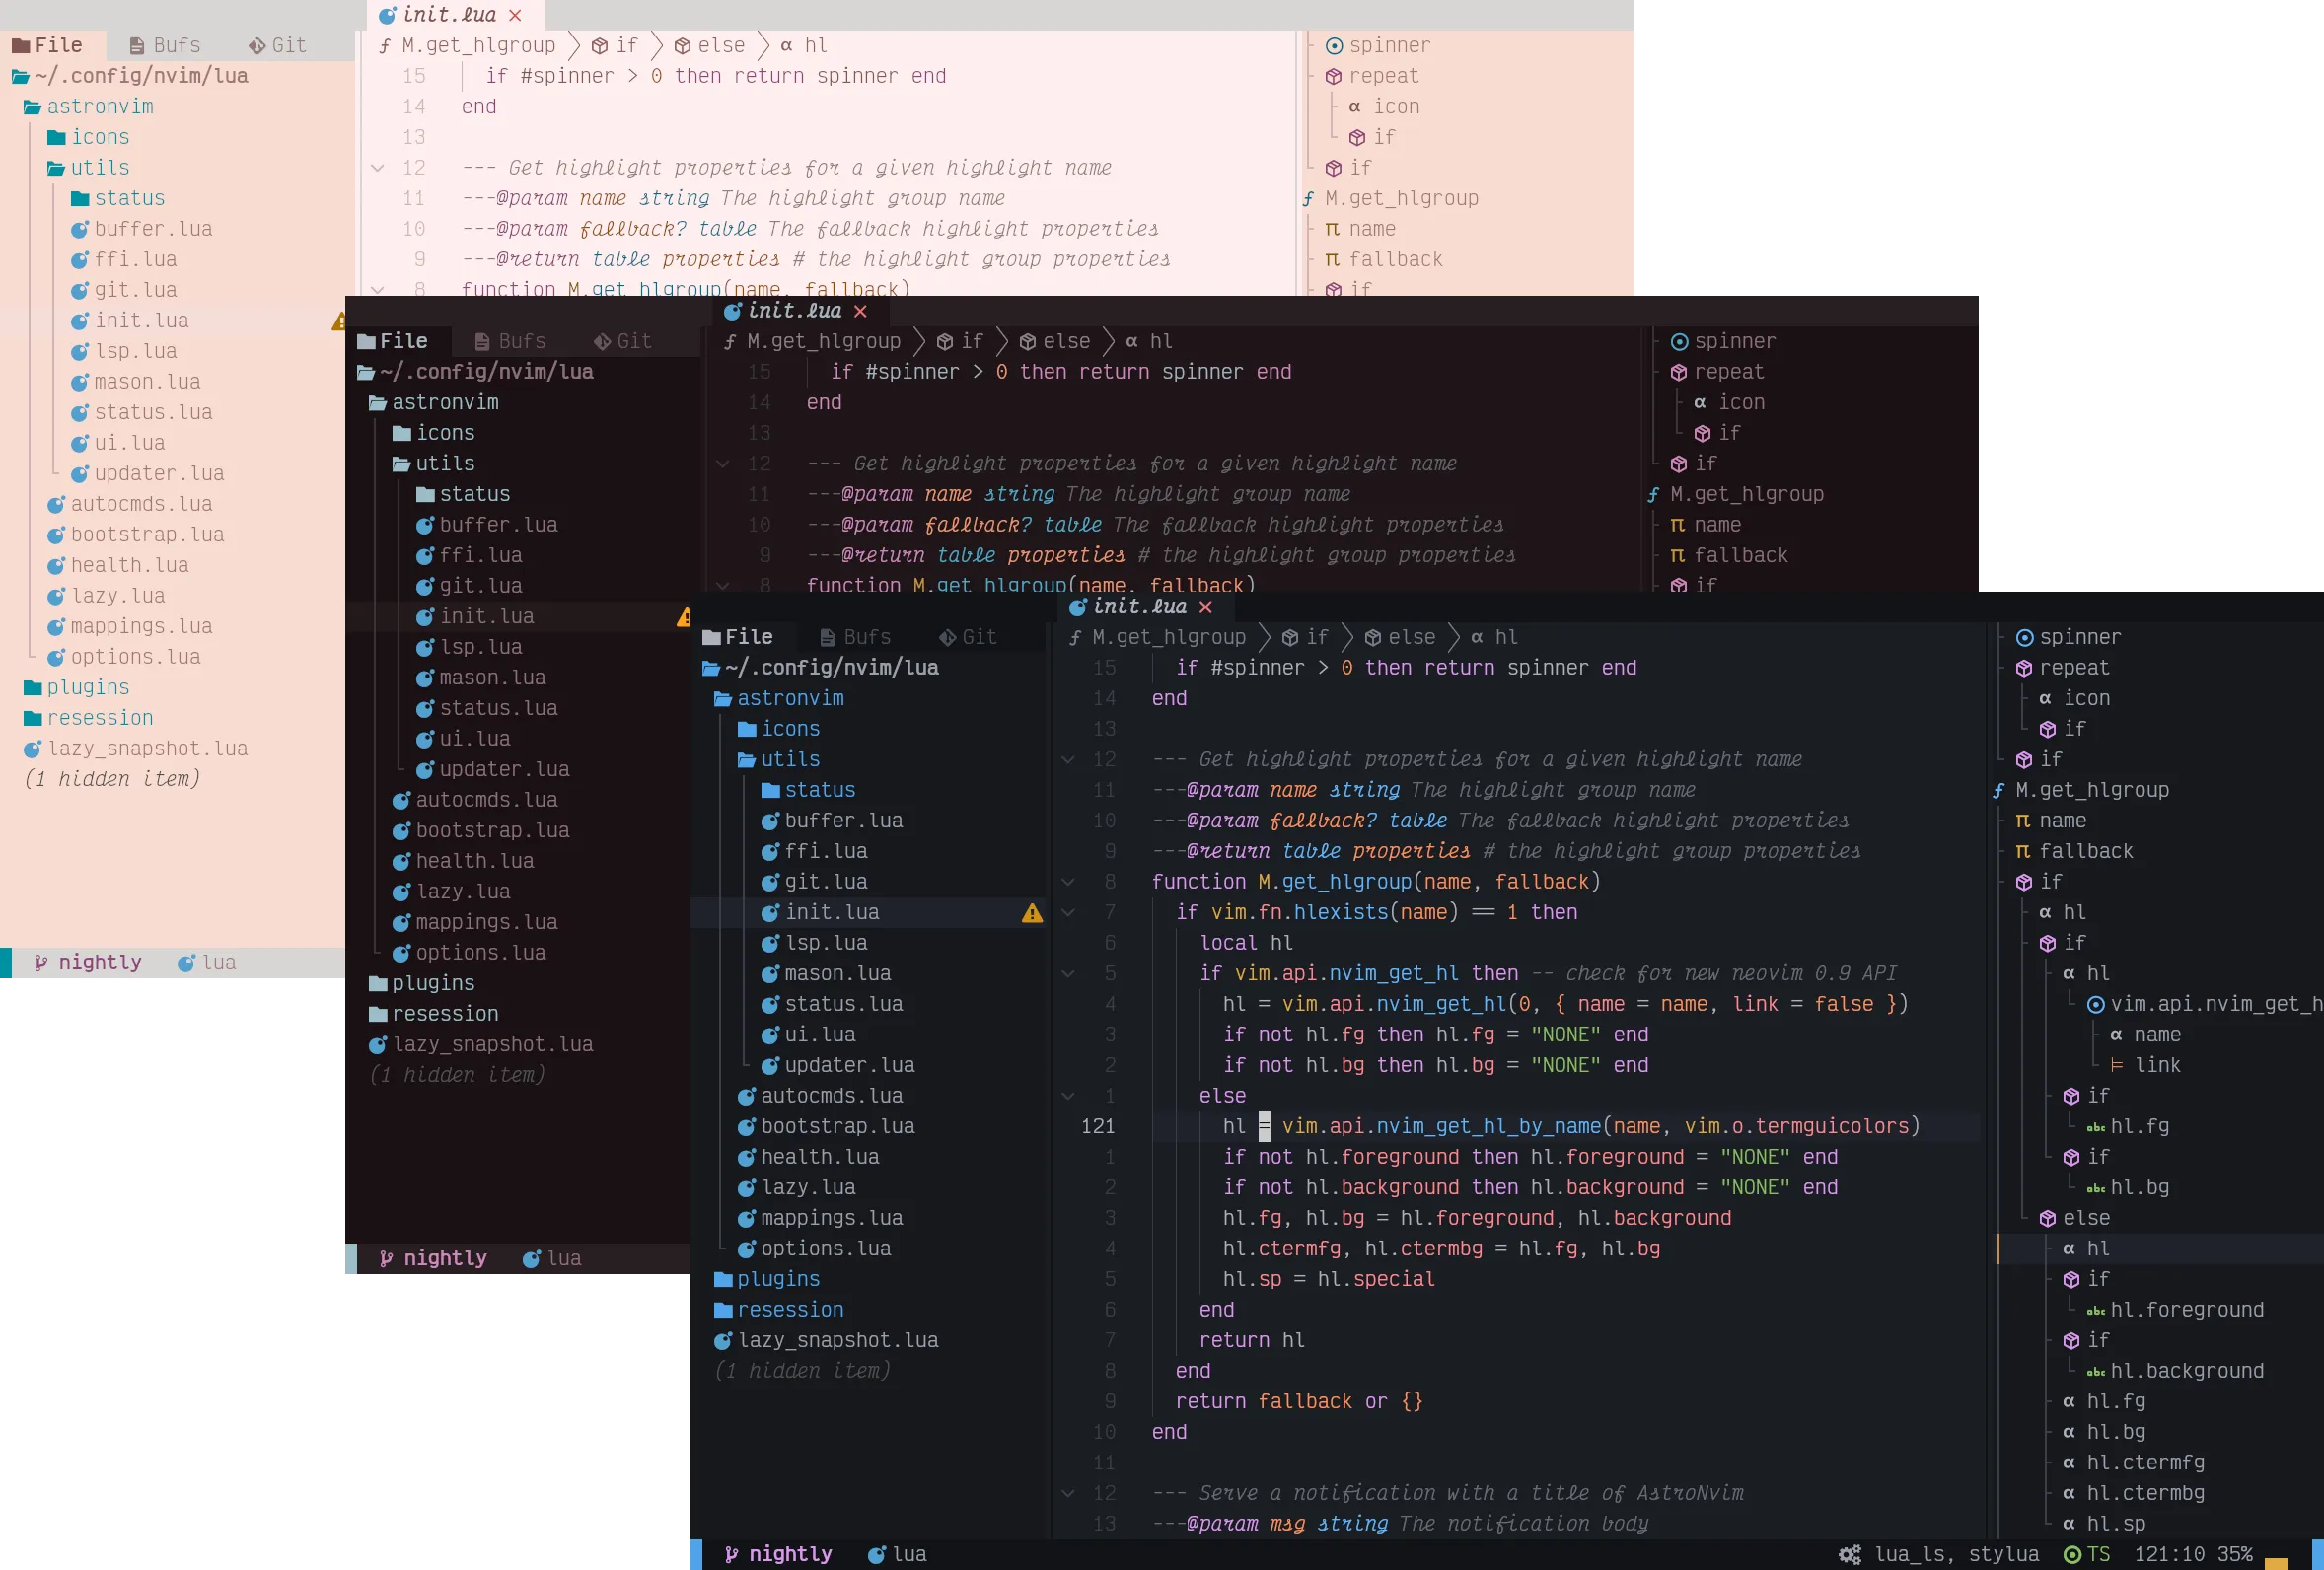
AstroNvim is an aesthetic and feature-rich neovim config that is extensible and easy to use with a great set of plugins
⚡ Requirements
- Nerd Fonts (Optional with manual intervention: See Recipes/Customizing Icons) [1]
- Neovim v0.8+ (Not including nightly)
- Tree-sitter CLI (Note: This is only necessary if you want to use
auto_installfeature with Treesitter) - A clipboard tool is necessary for the integration with the system clipboard (see
:help clipboard-toolfor supported solutions) - Terminal with true color support (for the default theme, otherwise it is dependent on the theme you are using) [2]
- Optional Requirements:
- ripgrep - live grep telescope search (
<leader>fw) - lazygit - git ui toggle terminal (
<leader>tlor<leader>gg) - go DiskUsage() - disk usage toggle terminal (
<leader>tu) - bottom - process viewer toggle terminal (
<leader>tt) - Python - python repl toggle terminal (
<leader>tp) - Node - Node is needed for a lot of the LSPs, and for the node repl toggle terminal (
<leader>tn)
- ripgrep - live grep telescope search (
🛠️ Installation
Make a backup of your current nvim folder
mv ~/.config/nvim ~/.config/nvim.bakClean neovim folders (Optional but recommended)
mv ~/.local/share/nvim ~/.local/share/nvim.bak
mv ~/.local/state/nvim ~/.local/state/nvim.bak
mv ~/.cache/nvim ~/.cache/nvim.bak
Clone the repository
git clone --depth 1 https://github.com/AstroNvim/AstroNvim ~/.config/nvim
nvim
Make a backup of your current nvim folder
Move-Item $env:LOCALAPPDATA\nvim $env:LOCALAPPDATA\nvim.bakClean old plugins (Optional but recommended)
Move-Item $env:LOCALAPPDATA\nvim-data $env:LOCALAPPDATA\nvim-data.bakClone the repository
git clone --depth 1 https://github.com/AstroNvim/AstroNvim $env:LOCALAPPDATA\nvim
nvim
If you want to try AstroNvim before installing you can use the following Docker command to open a test instance without touching your current Neovim configuration. This also allows you to use :TSInstall and :LspInstall to load and evaluate language servers and treesitter parsers as well.
docker run -w /root -it --rm alpine:edge sh -uelic '
  apk add bash git lua nodejs npm lazygit bottom python3 go neovim ripgrep alpine-sdk --update
  git clone --depth 1 https://github.com/AstroNvim/AstroNvim ~/.config/nvim
  # Uncomment the line below and replace the link with your user config repo to load a user config
  # git clone https://github.com/username/AstroNvim_user ~/.config/nvim/lua/user
  nvim
'
📦 Setup
Install LSP
Enter :LspInstall followed by the name of the server you want to install
Example:
:LspInstall pyright
Install language parser
Enter :TSInstall followed by the name of the language you want to install
Example:
:TSInstall python
Install Debugger
Enter :DapInstall followed by the name of the debugger you want to install
Example:
:DapInstall python
Manage plugins
Run :Lazy check to check for plugin updates
Run :Lazy update to apply any pending plugin updates
Run :Lazy clean to remove any disabled or unused plugins
Run :Lazy sync to update and clean plugins
Update AstroNvim
Run :AstroUpdate (<leader>pA) to get the latest updates from the repository
Update AstroNvim Packages
Run :AstroUpdatePackages (<leader>pa) to update both Neovim plugins and Mason packages
Reload AstroNvim (EXPERIMENTAL)
Run :AstroReload to reload the AstroNvim configuration and any new user configuration changes without restarting. This is currently an experimental feature and may lead to instability until the next restart.
✨ Features
- Common plugin specifications with AstroCommunity
- Statusline, Winbar, and Tabline with Heirline
- Plugin management with lazy.nvim
- Package management with mason.nvim
- File explorer with Neo-tree
- Autocompletion with Cmp
- Git integration with Gitsigns
- Terminal with Toggleterm
- Fuzzy finding with Telescope
- Syntax highlighting with Treesitter
- Formatting and linting with Null-ls
- Language Server Protocol with Native LSP
⚙️ Configuration
To begin making custom user configurations you must create a user/ folder. We have created a template repository for easily making a user configuration file: Astronvim/user_example
The provided template repo can be used to create a new user configuration repository on your GitHub account or cloned directly. After creating a new repository from the template you can run:
git clone https://github.com/<username>/<config_repo> ~/.config/nvim/lua/user📦 Community Plugin Configurations
To avoid duplication of effort, you can use community-provided setups from the AstroCommunity repository. For example, to enable language tools (LSP and DAP etc.) for Rust and Python, your plugins/community.lua file can look like the following.
Disclaimer: These setups might not always work. Think of them as VSCode extensions or AUR build scripts, separate from the main AstroNvim project. Report any issues to the AstroCommunity maintainers, not the AstroNvim maintainers.
return {
  -- Add the community repository of plugin specifications
  "AstroNvim/astrocommunity",
  -- example of importing a plugin, comment out to use it or add your own
  -- available plugins can be found at https://github.com/AstroNvim/astrocommunity
  -- { import = "astrocommunity.colorscheme.catppuccin" },
  { import = "astrocommunity.pack.rust" },
  { import = "astrocommunity.pack.python" },
}
❗️ General tips
For more information on the organization of config files and general usage of AstroNvim, be sure to check out the excellent youtube tutorial.
More advanced LSP setups can also be found in Recipes. Note that whenever you see plugins = { <inner_code_block> }, you can also put the <inner_code_block> into plugins/user.lua or plugins/*.lua (they will all be merged into the final plugins spec, and the lua code plugins = {...} acts like the directory structure plugins/...).